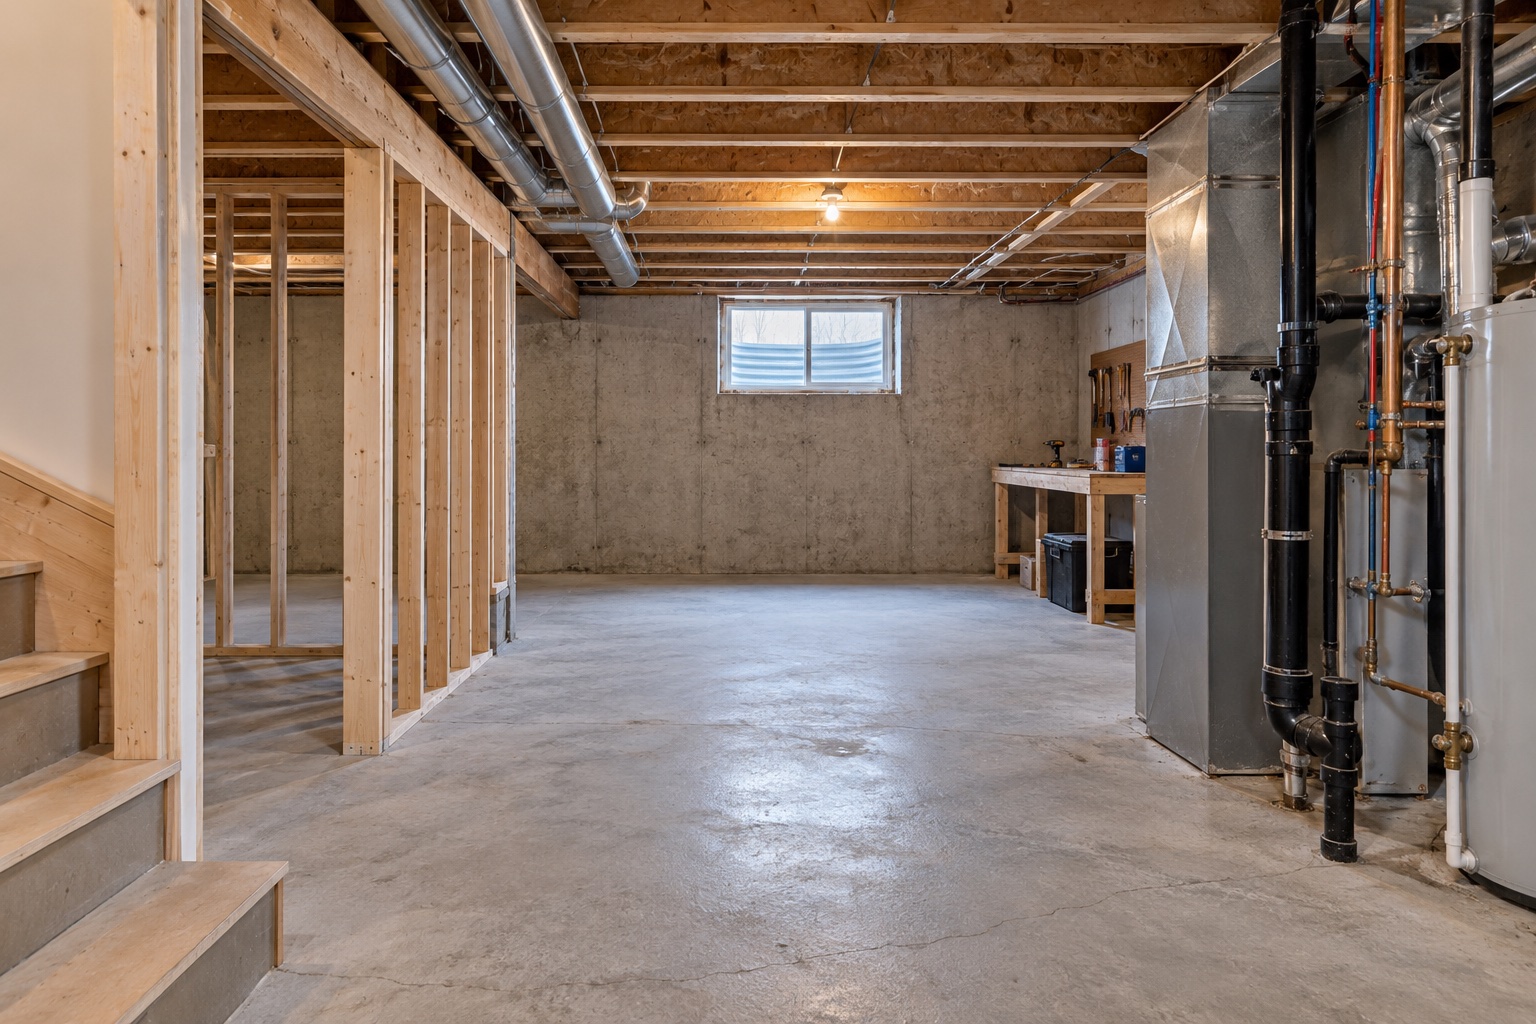
Treat dryness as a condition to establish
The right order is investigation, water control, verification, then finishes. A basement can look dry on the day a contractor measures it and still become wet during snowmelt, heavy rain or humid summer weather. New studs and drywall make that history harder to observe.
Ask for a pre-finishing assessment that explains the existing foundation, floor, drainage and indoor conditions. Keep it separate from a sales description of the proposed rec room. Natural Resources Canada's basement insulation guidance warns against insulating from the inside over unresolved leaks, dampness, efflorescence or blistering paint.
Start a record of water stains, musty areas, peeling coatings and repairs. Ask previous owners for relevant information if available, but judge the current condition directly. If water is present near electrical equipment, keep out of the affected area and arrange safe assessment. Do not begin demolition simply to see what happens.
Distinguish four different moisture routes
First consider surface water: rain or meltwater reaching walls, openings or window wells. Next consider ground-related moisture: water or moisture moving through the foundation or floor. Then look for plumbing sources, including a supply leak, drain defect or appliance connection. Finally consider condensation, where moist air meets a cold surface.
These routes can overlap. A dehumidifier may lower room humidity while leaving a rainwater leak unresolved. An interior coating may conceal a stain without correcting the route behind it. Ask the assessor which mechanism is supported by the observations and what still needs testing.
Make a simple location-and-weather log. Record whether the symptom follows rainfall, appears beside a plumbing fixture or develops on a cold surface during humid conditions. Include photographs from the same position. The record is useful for deciding where to investigate; it does not turn a stain into a definitive diagnosis.
Inspect the exterior routes before specifying interior repairs
Review gutters, downspouts, ground slope, paved surfaces and basement openings. Look at where roof water actually goes. A downspout extension is useful only if its destination drains appropriately and does not create another problem at a walkway, adjoining property or opening.
Inspect window wells for accumulated debris and water. Public Safety Canada's basement window maintenance guidance explains that water must be able to drain rather than pool against the window. If the window is an emergency exit, a cover must preserve the required escape function.
Do not commission excavation solely because someone points to a damp patch. Ask what evidence supports the proposed work, which drainage components have been checked and whether another route could explain the symptom. Request a plan for protecting adjoining structures and restoring the site if exterior work is justified. The assessment should connect the observed route to the repair.
Review sewer and sump protection as a separate system
Foundation seepage and a sewer backup are different problems. Have a plumber identify the house's drainage arrangement, existing backwater protection, sump discharge and accessible service points. Ask how installed devices are inspected and maintained, and which failures a proposed device is intended to address.
Toronto's basement flooding protection program distinguishes plumbing assessments, backwater valves, sump pumps, alarms and backup power. Its project categories are a useful reminder that there is no single universal “waterproofing” product. Eligibility and installation requirements belong to the local program, not to a national assumption.
Before drawing the finished layout, mark every cleanout, valve, pump and inspection point. Keep the access usable after cabinetry, flooring and furniture are installed. Ask how the homeowner will notice a failure and reach the equipment. A device hidden behind permanent finishes is difficult to inspect and service.
Measure room conditions and deal with damaged material
Use a hygrometer to record indoor relative humidity alongside temperature and the location of the instrument. One reading beside a warm furnace does not describe every basement corner. Note whether the room is closed off, whether laundry adds moisture and whether ventilation equipment operates as intended.
Health Canada's moisture and mould guide emphasizes finding and correcting moisture sources. Do not cover mould-affected material with a new wall or rely on fragrance to judge whether the problem is solved. Have the cleanup scope and any material removal defined before finishing begins.
Use dehumidification as part of an identified moisture-control plan, with a suitable drainage arrangement and service access. Ask how the completed basement will be heated, ventilated and monitored. A new room with tightly closed doors needs to function as occupied space, not simply as a decorated corner of the old utility area.
Specify an assembly for the foundation you actually have
Ask the designer or contractor to show the complete wall and floor build-up, including how moisture, air leakage and heat transfer are managed at junctions. Where does the wall meet the slab? What happens at the rim area, window openings and partitions? How will the proposed layers connect without hiding a known source of water?
NRCan's basement chapter describes different foundation and insulation approaches; its detailed guide also notes that an apparently dry foundation can still transmit moisture. A generic drawing cannot settle the detail for every age and type of basement.
For flooring, request the product's actual substrate-testing and installation requirements. A surface marketed as water-resistant does not eliminate moisture conditions underneath it. Include testing, preparation and the decision threshold in the contract. Agree what happens if the substrate does not meet the requirements before the flooring is delivered or installed.
Use the planning stage to address radon and concealed materials
A basement becoming a bedroom, office or frequently used living room changes how the household uses the lowest level. Include radon testing in the early plan, rather than waiting until finishes make a mitigation route awkward. Health Canada's measurement guide recommends long-term testing over three to twelve months and addresses rooms that will soon become regularly occupied. Follow its placement and heating-season instructions.
Before disturbing existing materials, establish whether hazardous materials need assessment. Health Canada recommends professional asbestos testing before renovation where materials may contain it. Keep investigation and any required removal in the sequence before the general demolition crew begins.
Also confirm municipal requirements for the proposed use, exits and relevant building systems. A comfortable room must still have a workable route out and accessible equipment.
Set a clear release point for finishing work
Before closing the walls, collect photographs of completed repairs, the agreed assembly details, relevant inspection records, substrate results and equipment instructions. Revisit the original symptoms after the conditions that caused them, where practical. A contractor should be able to explain what evidence demonstrates that the identified problem has been addressed.
Write unresolved items down. Do not convert “we have not seen it rain yet” into “the leak is fixed.” If the schedule cannot establish the condition needed for a dependable finish, change the schedule or stage the work. Protecting the future room begins with the decision about when it is ready to disappear behind a wall.
Before you move forward
Put it into practice.
Save your priorities and questions in a project brief you can download and keep.
Build your project brief
Sources & further reading
Primary sources checked October 30, 2026. Local requirements and individual project conditions can differ.
- NRCan: Basement insulation—floors, walls and crawl spaces
- Public Safety Canada: Basement window maintenance
- City of Toronto: Basement flooding protection
- Health Canada: Guide to addressing moisture and mould indoors
- NRCan: Keeping the Heat In, basement chapter PDF
- Health Canada: Guide for radon measurements in homes
- Health Canada: Asbestos and your health